🚀 Launch Your Own AI Mode on Dappier
Welcome to AI Mode, your own branded AI experience — powered by your content, customized with your brand, and deployed on your own domain. With Dappier, you can launch your AI Mode in just a few minutes.All you need to do is create an AI Agent, sync your content, and configure your appearance and behavior settings.
Once ready, your AI Mode can be deployed instantly on a Dappier-hosted link or on your own subdomain like ask.yourdomain.com. This guide will walk you through every step of the process — from training your AI Agent to deploying your AI Mode live.
🪄 Step-by-Step Setup
Step 1: Log into Dappier
Head over to platform.dappier.com and log into your account.From the sidebar, click My AI Agents — this is where you can view, create, and manage all your AI Agents.
Step 2: Create a New Agent
Click Create New Agent to start building your first AI-powered experience. Your AI Agent is the brain behind your AI Mode — it determines what content it knows, how it responds, and how it behaves.
Step 3: Add Your Content
Next, tell your AI Agent what content to learn from. You can sync data in three flexible ways:- RSS Feed(s) – Connect your content feeds for automated syncing. Ideal for blogs, news sites, or publishers who regularly post updates.
- Site URL – Enter your website’s root URL to crawl and train the AI on your site’s published pages.
- File Uploads (PDF/DOCX) – Upload whitepapers, reports, manuals, or internal documents to train your agent with offline data.

Step 4: Name Your Agent
Give your AI Agent a clear, recognizable name — this name will also appear across your AI Mode interface and dashboard.Step 5: Add a Description
Write a short summary describing what your AI Agent can do.This description helps users and team members understand the purpose of your agent. Example: “Your local news assistant for breaking stories, events, and weather updates.”
Step 6: Define Instructions & Persona
This is one of the most important steps — defining how your agent should think and speak.Your instructions act like a set of guardrails for your AI. You can describe:
- The tone (friendly, professional, newsroom-style, casual, etc.)
- The scope (what topics it should and shouldn’t cover)
- The behavior (how it should format answers, when to link, when to summarize)
“You are a helpful, concise assistant that summarizes news articles from our site. Always link back to the full article and never speculate about unrelated topics.” Once complete, click Begin Fine Tuning.
Dappier will train your AI Agent using your content and instructions — this typically takes just a few minutes.
🎨 Customize Your AI Mode — Brand & Deploy
After fine-tuning is complete, two new sections will unlock:- Brand & Deploy
- Ad Settings
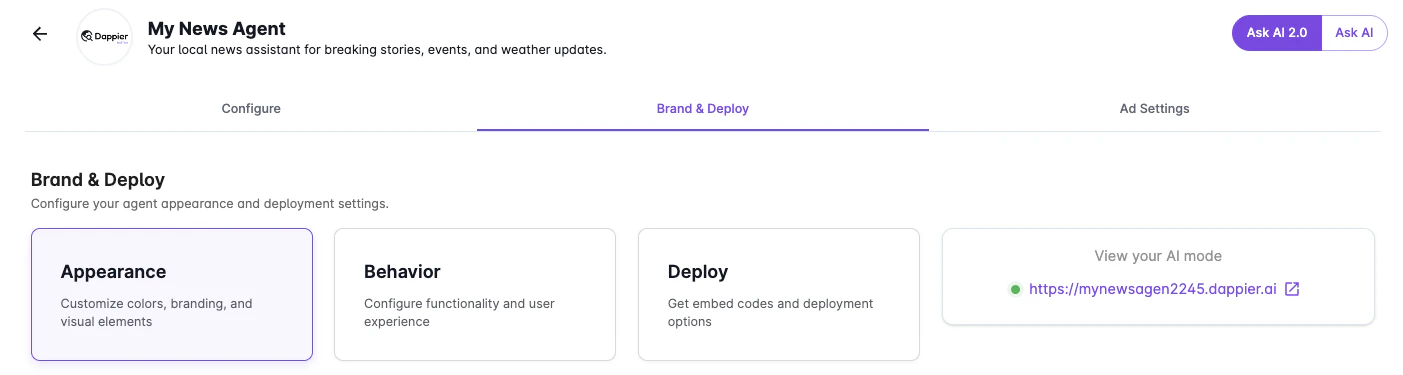
Appearance Sub-Tab
Customize your AI Mode’s design and messaging to reflect your brand identity.🗂 Content & Text Settings
- Welcome Title – This is the first heading users will see when the AI Mode loads. It sets the tone for the interaction. Example: “Hi 👋 I’m your local news assistant!”
- Welcome Description – A short message explaining how to use your AI Mode. Example: “Ask me about today’s top stories or upcoming events.”
🎨 Branding & Theme
- Logo – Upload a logo image or paste a direct image URL. Your logo will appear at the top of the AI Mode.
- Primary Color – Choose a color that matches your brand palette. It will be used for buttons, highlights, and accents.
- Theme Mode – Select Light or Dark mode. This automatically adjusts background, text, and borders for readability.

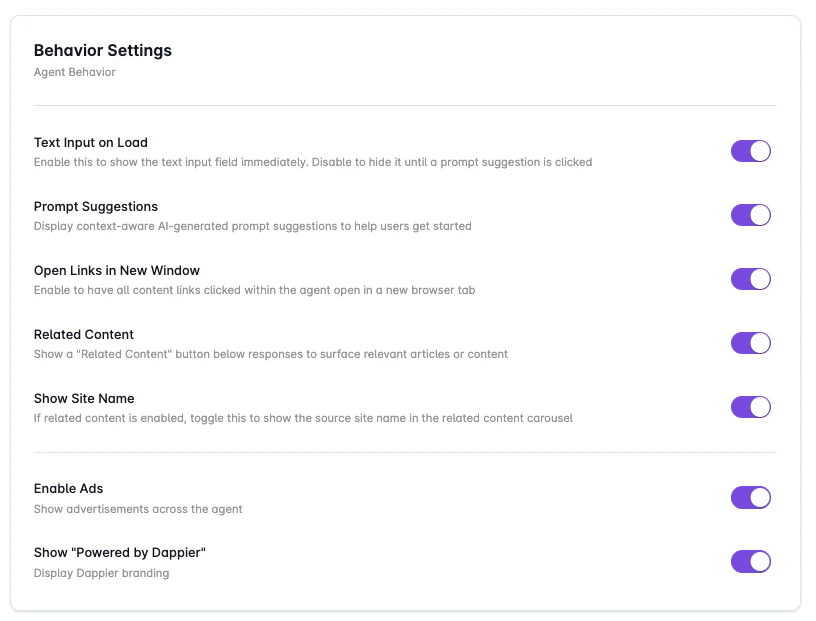
Behavior Sub-Tab
Control how your AI Mode behaves when users interact with it.⚙️ Behavior Settings
- Enable Text Input on Load – Show the text input field immediately, or hide it until a suggested prompt is clicked.
- Prompt Suggestions – Display AI-generated questions to help users start conversations faster.
- Open Links in New Window – Opens article or content links in a new browser tab (recommended).
- Related Content – Adds a “Related Content” section under answers to show additional articles or media.
- Show Site Name – Displays your site’s name next to related content links.
- Enable Ads – Enables ad placements inside your AI Mode (if configured under Ad Settings).
- Show “Powered by Dappier” – Display or hide Dappier’s branding (unlocked for Pro and Enterprise users).
🔗 Link Settings
Header Settings- Logo Link – Make your logo clickable by linking to your main website or a specific landing page.
- Header Links – Add up to five navigation links in your AI Mode’s header (e.g., Home, News, Contact). You can drag to reorder.
- Disclaimer Link – Direct users to your legal or editorial policy.
- Copyright Text – Add custom text such as ©2025 YourCompany.
- Terms of Service Link – Add your TOS link for transparency.
- Privacy Policy Link – Include your privacy policy URL.

⚡ Advanced Settings
- API Key – Select the API key for your agent (default key is applied automatically).
- Referring URL – Set a referral link (optional; not used in AI Mode).
- Custom Prompts on Load (Max 3) – Add up to 3 pre-defined prompts to appear when the agent loads. If fewer are added, Dappier will automatically fill the remaining with relevant, AI-generated suggestions.
- Google Tag Manager ID (Optional) – Track user interactions using GTM.
- Google Analytics 4 Measurement ID (Optional) – Measure user engagement via GA4.

Deploy Sub-Tab
Now that your agent is customized, it’s time to make it live!🌐 Live Site
Every AI Agent automatically gets a hosted Dappier URL, which is your default AI Mode deployment. You can share this link directly or embed it on your site.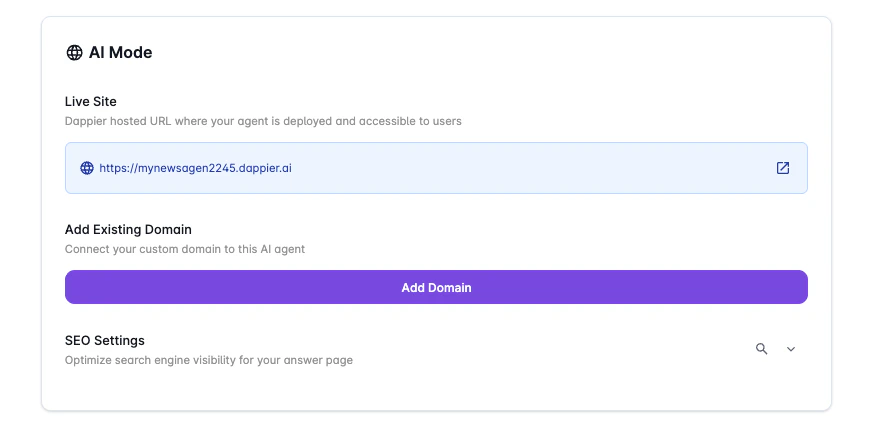
🏠 Add Existing Domain
To host your AI Mode on your own domain (e.g., ask.yourdomain.com):- Click Add Existing Domain.
- Enter a subdomain and root domain (e.g., “ask” and “yourdomain.com”).
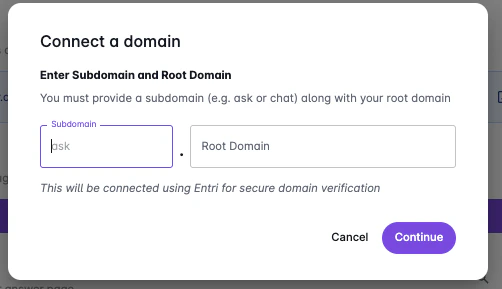
- Dappier uses Entri for secure DNS verification.
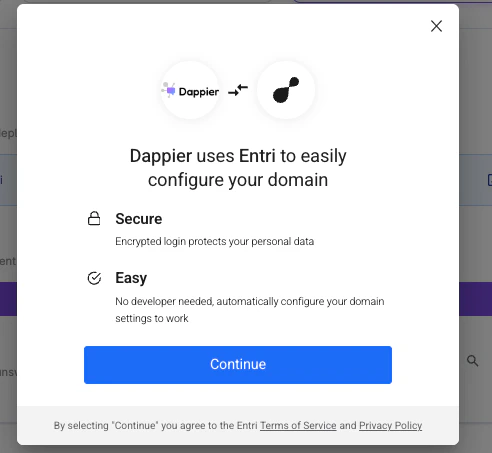
- Click Continue and follow the steps needed to authorize your DNS provider for verification.
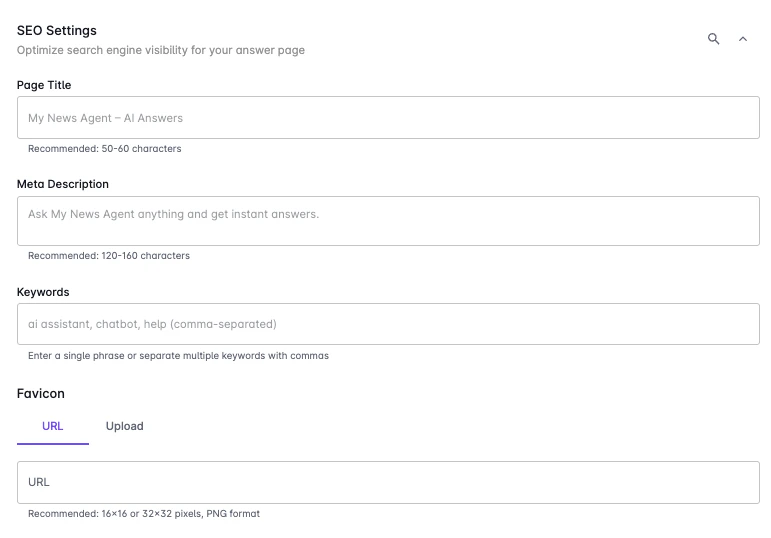
🔍 SEO Settings
Make your AI Mode discoverable on search engines.- Page Title – The title displayed in search results (50–60 characters).
- Meta Description – A short summary of your AI Mode’s purpose (120–160 characters).
- Keywords – Add keywords separated by commas for discoverability.
- Favicon – Upload or paste a direct URL for a 16x16 or 32x32 PNG icon.
🎉 That’s It — You’re Live!
Congratulations — your AI Mode is now active! You’ve successfully created a fully branded AI experience powered by your own content and deployed it on your custom subdomain. Your users can now:- Ask questions about your content
- Explore related articles and media
- Engage with your brand in real time