

These guides cover Ask AI 2.0. Make sure Ask AI 2.0 is selected in the switch at the top right of your agent.
Start a new agent
1
Open My AI Agents
Sign in to the Dappier platform and select My AI Agents in the sidebar.
2
Create the agent
Select Create New Agent. The agent opens on the Configure tab.
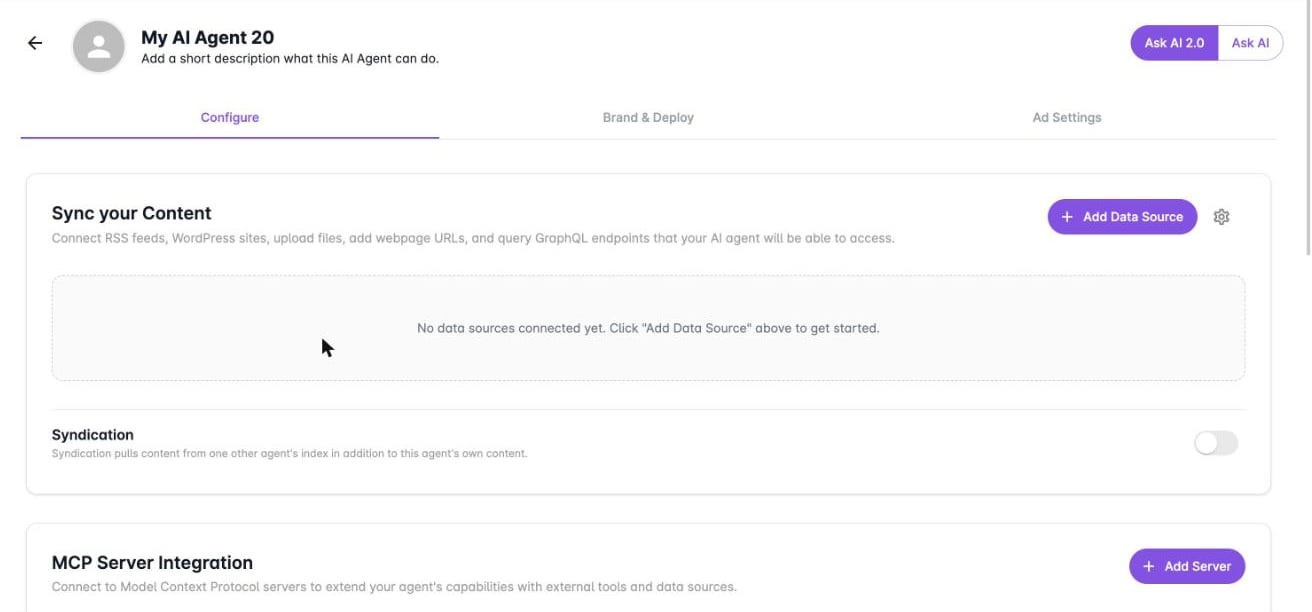
Sync your content
Select Add Data Source and choose the type of source to connect. You can add more than one.
After you connect a source, the section shows:
- A tab for each source type with the number of sources connected.
- The DataModel ID for the agent’s content, which starts with
dm_. - A description field where you tell the agent what content these sources contain, so it knows what to expect.
- The time the content was last ingested.
Syndication
Turn on Syndication to pull content from one other agent’s index in addition to this agent’s own content.MCP server integration
Select Add Server to connect a Model Context Protocol server. This extends the agent with external tools and data sources.Describe your agent
Under AI Agent Details, fill in three fields.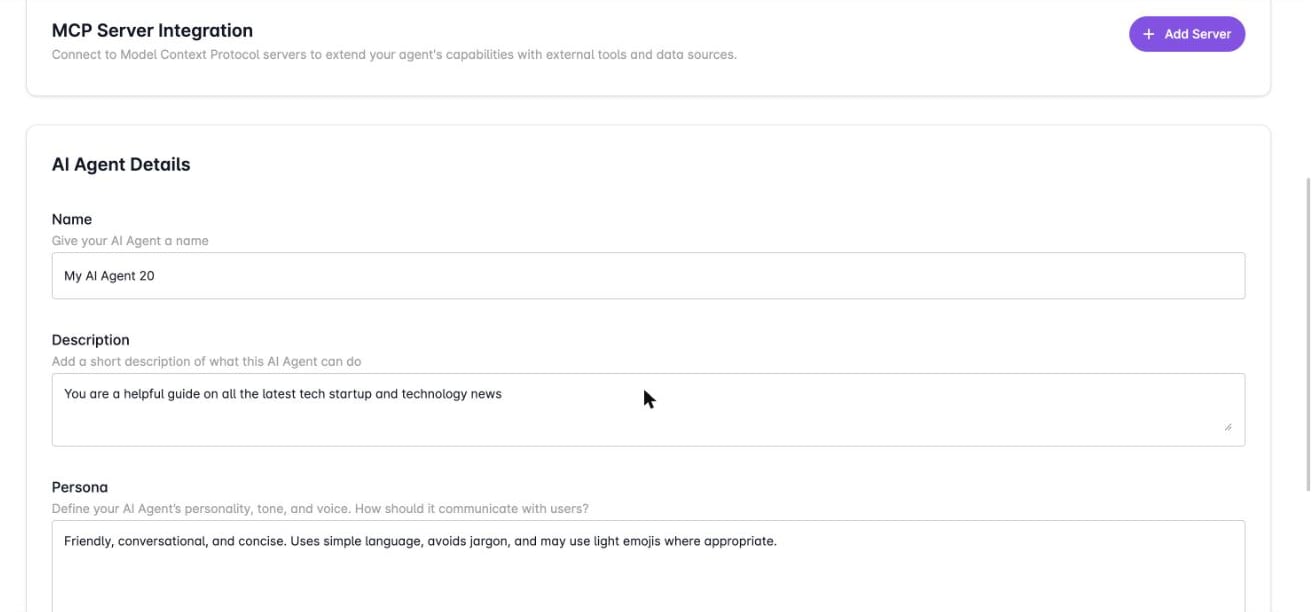
Fine tune and update
Select Begin fine tuning to train the agent on your content and settings. Once the agent exists, its AI Model ID (starting witham_) appears under the agent name. You can return to the Configure tab at any time to add or remove data sources, add optional prompt samples (example questions users might ask about your content), and select Update to save your changes.
Next steps
Customize Ask AI
Set the welcome text, branding, theme, and behavior of your agent.
Deploy Ask AI
Launch a hosted AI Mode page or embed Ask AI on your site.